Creating Group
Before you create a group, make sure that the necessary group types have been created. To create group types, see Group Types.
When a group is created, individual clients are added as group members. Each group member is assigned a group role at the time of group creation. To create group roles, see Group Roles.
How to create a new group:
-
Go to Groups > Add Group.
-
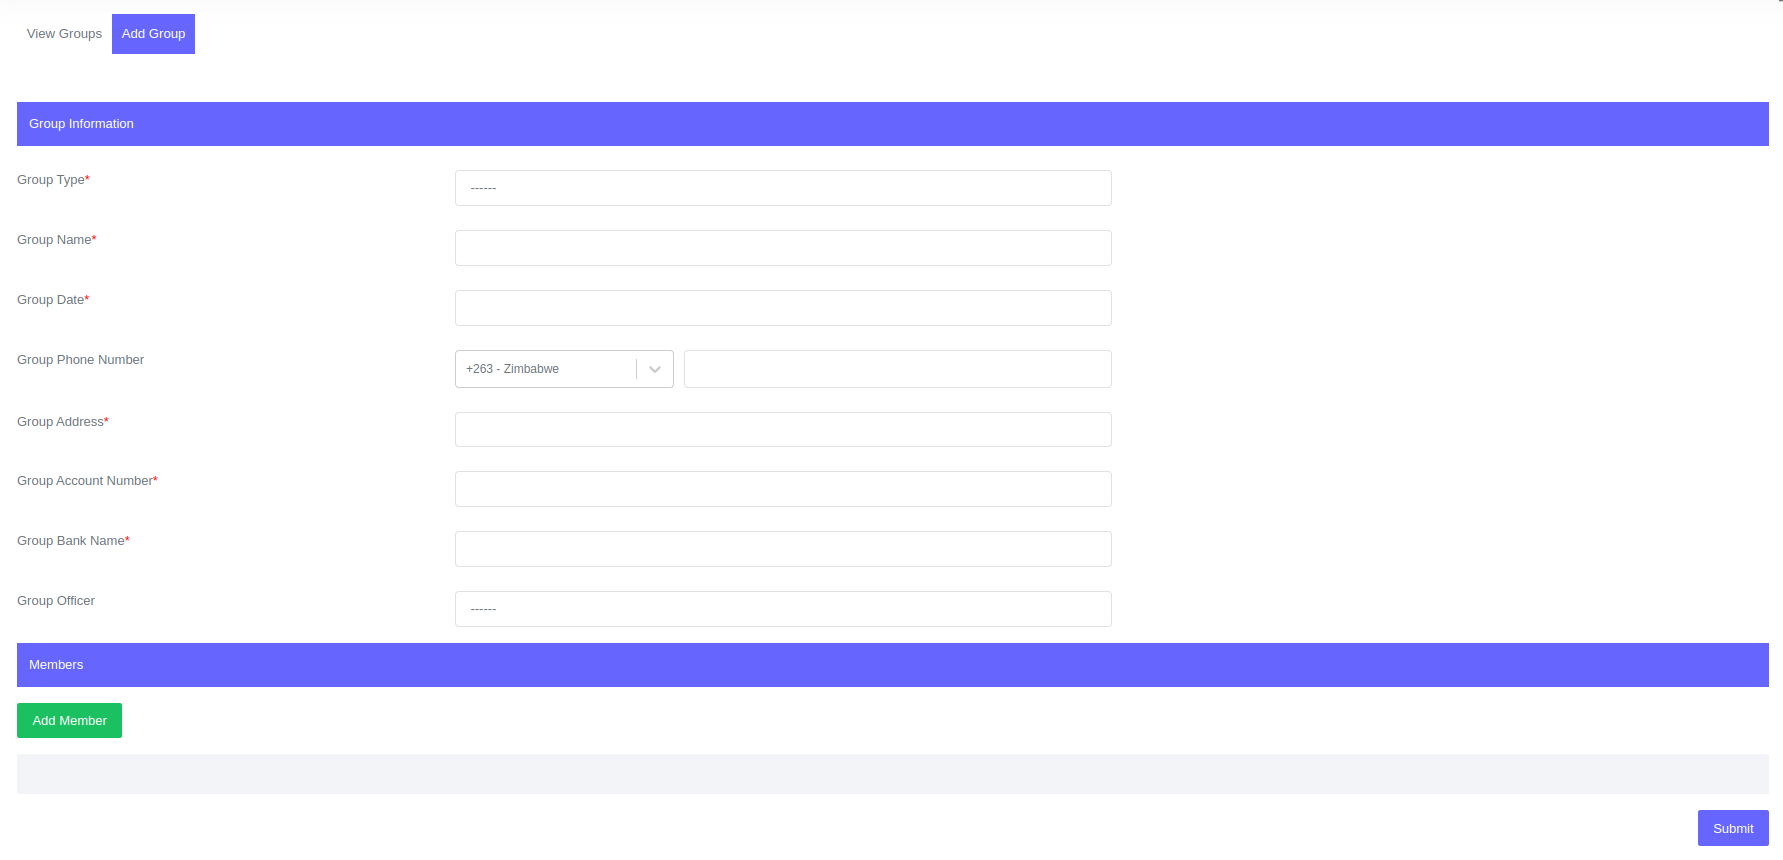
To open the form, simply click on the "Add Group" button.
-
Enter the information required in the form.
How to add members in a group:
Before you can add members to a group, each member must be created as an individual client. When you create a group, each member is assigned a group role.
- To add group members and their designated roles click the "Add Member" button.

- Enter the information required in the form.
- To remove a member from the group click the "Remove Member" button.
Please NoteWhen a group member is added to a particular group, the total number of group members should fall within the minimum and maximum number of group members allowed.. To set this control, see Group Controls.
- To add group members and their designated roles click the "Add Member" button.
-
Click Submit
Fields for Group
| Field | Description |
|---|---|
| Group Type | Assign a group to a group type.. |
| Group Name | Name of the group. |
| Group Phone Number | Contact details of the group. |
| Group Address | Physical address of the group. |
| Group Account | Group bank account number. |
| Group Bank Name | Group bank name. |
| Group Officer | Credit Officer assigned to the group. |
| Group Member | Individual client who is a member of a group. |
| Group Member Role | Individual client role in a group. |
Group life cycle is similiar to client life cycle. For more information about group life cycle, see Clent Life Cycle.